
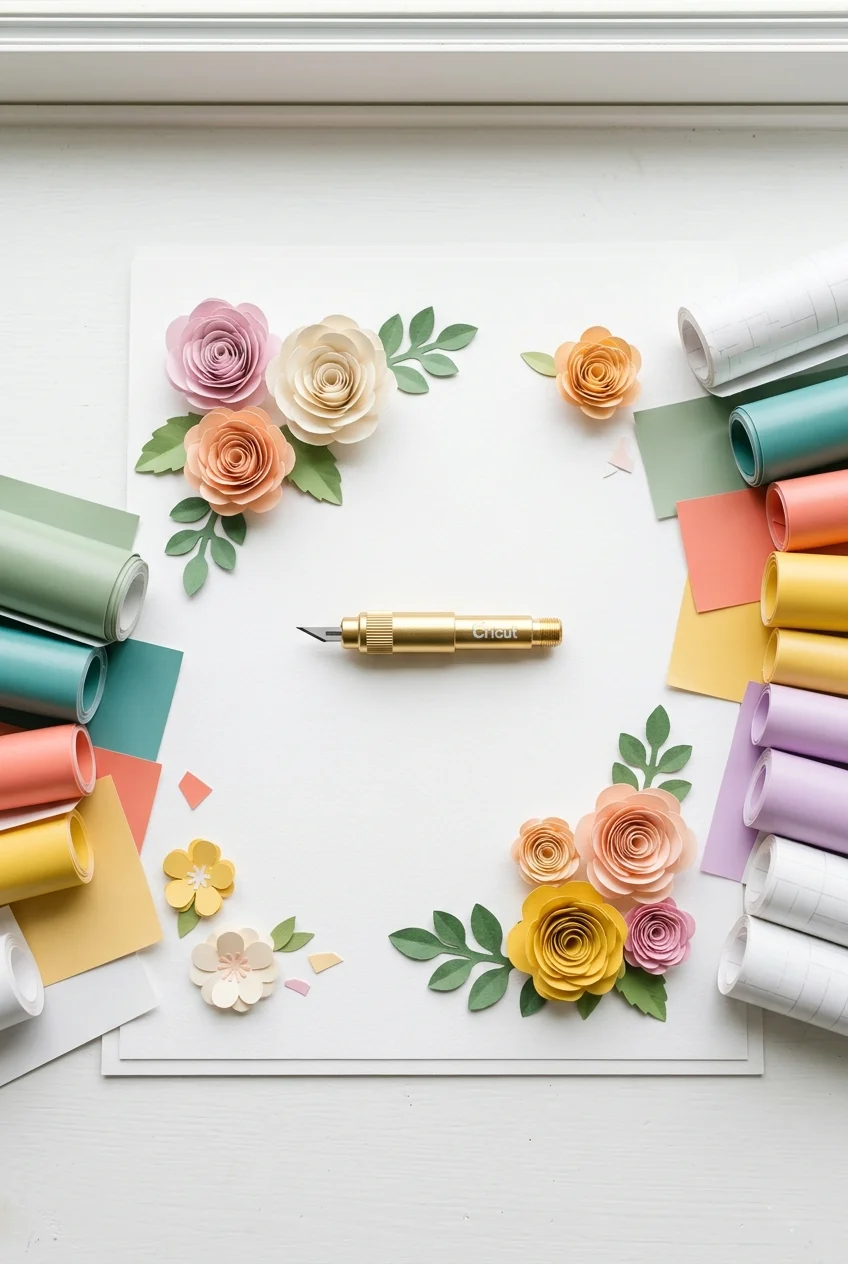
29 Cricut Blades 101: Everything You Need to Know
Do your Cricut cuts keep tearing, skipping, or coming out rough? The real problem is usually the blade — most people just grab whatever came in the box and hope for the best. Cricut blades are the most important part of your machine, and using the wrong one ruins projects fast. The good news is, once you know which blade does what, everything gets easier and more fun.
There are more blade types than most people realize. Each one is made for a specific material or effect. From paper and vinyl to leather and wood, every material has a blade that works best with it. Knowing your options saves you time, money, and a lot of frustration.
This guide covers all 29 Cricut blade ideas you need to know — explained in simple, everyday language. No confusing technical terms, just clear and useful information. Whether you are new to Cricut or have been crafting for years, this article has something valuable for you. Let’s get into it.
1. Fine-Point Blade The Everyday Essential

The Fine-Point Blade is the blade that ships with almost every Cricut machine. It is designed for everyday crafting materials like paper, vinyl, cardstock, and iron-on. Most home decor projects you see on Pinterest were made using this blade. It is sharp, reliable, and easy to use.
This blade is made from German carbide steel, which means it stays sharp for a long time. The housing is typically gold or silver depending on your machine model. One blade can handle hundreds of cuts before needing replacement. That makes it both affordable and practical for regular crafters.
If you are just starting your Cricut journey, you will use this blade more than any other. It handles intricate designs, small text, and delicate shapes with ease. Wall art quotes, paper flowers, and vinyl decals are all cut beautifully with the Fine-Point Blade. Always keep a spare one in your craft room just in case.
2. Deep-Point Blade For Thick and Dense Materials

The Deep-Point Blade has a steeper 60-degree angle compared to the Fine-Point’s 45 degrees. This extra sharpness lets it slice through thicker materials without struggling. It is perfect for chipboard, thick foam sheets, heavy cardstock, and magnets. When your Fine-Point Blade starts dragging, the Deep-Point is your answer.
This blade comes in a black housing, so you can tell it apart from other blades at a glance. Color-coding matters a lot when you have multiple blades stored together. Using the wrong housing can damage your machine, so always double-check before inserting. The black housing is a smart design choice that prevents mix-ups for crafters.
For home decor projects, this blade is great for cutting layered paper wall art or thick foam decorations. It gives you clean, crisp edges that look professional. Many crafters also use it for cutting balsa wood shapes for rustic home decor. Add this blade to your collection early, and you will thank yourself later.
3. Bonded Fabric Blade Your Sewing Sidekick

The Bonded Fabric Blade is designed for cutting fabric bonded with a stabilizer or iron-on backing. Without backing, fabric stretches and shifts during cutting, which causes messy edges. This blade is engineered to handle that challenge cleanly. It is a must-have for anyone who loves fabric-based home decor.
It looks almost identical to the Fine-Point Blade, but you should never mix the two. Fabric fibers dull blades much faster than paper fibers do, so keeping a dedicated fabric blade is important. Cricut actually recommends labeling your blade housings so you always know which is which. A small piece of washi tape with a label works perfectly for this.
Use this blade for cutting appliqué shapes, fabric banners, and quilting pieces. It works beautifully on cotton, felt, and other bonded fabrics. Pair it with Cricut’s iron-on fabric backing for the cleanest cuts possible. Once you try it, you will never go back to cutting fabric with scissors for your Cricut projects.
4. Rotary Blade Fabric Cutting Reimagined

The Rotary Blade is one of the most talked-about tools in the entire Cricut lineup. It rolls as it cuts, like a pizza cutter, so it glides through fabric without shifting or pulling. This is the only blade that can cut fabric without any backing or stabilizer. It is exclusively available for Cricut Maker machines.
Before this blade existed, crafters had to stiffen every piece of fabric before loading it into a Cricut. Now you can cut denim, jersey knit, chiffon, and silk directly from the roll. The rolling motion keeps the fabric in place and produces incredibly accurate cuts. It works best when paired with the Cricut FabricGrip mat.
Home decor crafters love this blade for making cushion covers, table runners, and fabric wall hangings. The precision it delivers makes sewing projects so much easier and more enjoyable. If fabric crafting is your passion, the Rotary Blade is not optional — it is essential. It is one of the best investments you can make for your Cricut setup.
5. Knife Blade Heavy-Duty Cutting Power
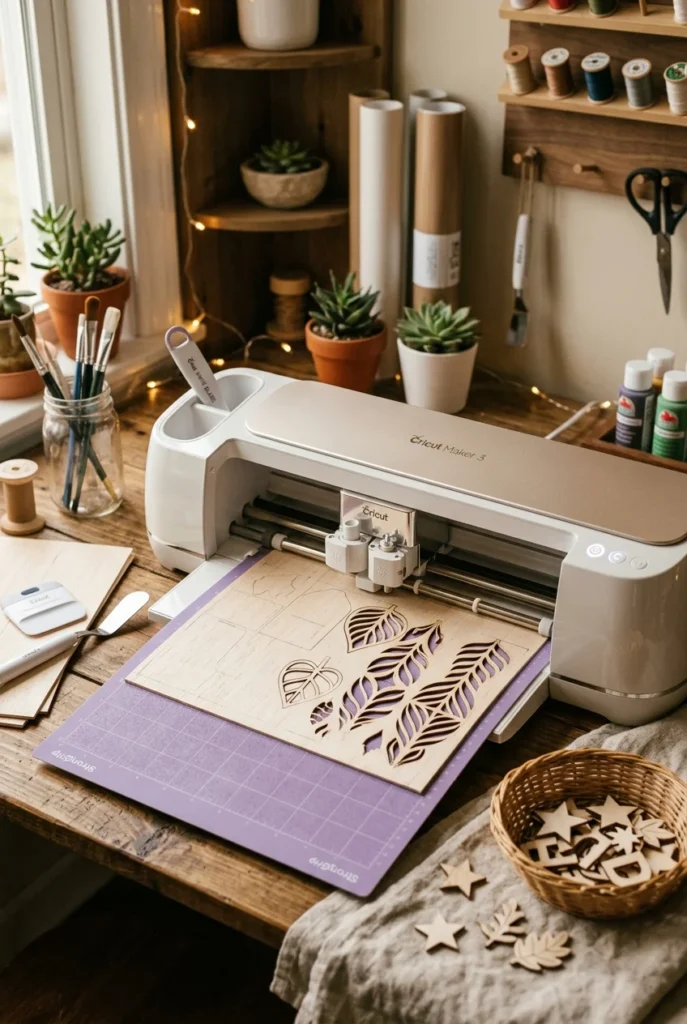
The Knife Blade is the most powerful blade in the entire Cricut collection. It is designed to cut thick, dense materials that no other blade can handle. Think balsa wood, thick leather, matboard, and craft foam up to 2.4mm thick. This blade is only compatible with the Cricut Maker series.
The machine makes multiple passes with the Knife Blade to completely cut through tough materials. This is programmed automatically — you do not need to do anything extra. Always use the StrongGrip mat when using the Knife Blade to keep your material firmly in place. Rushing or lifting the mat too early can ruin the cut.
For home decor lovers, this blade is a game-changer. You can create wooden signs, leather bookmarks, and layered wood decorations that look like they came from a boutique. These are the kinds of projects that get hundreds of saves on Pinterest. If you want to make high-end-looking home decor on a budget, the Knife Blade makes it possible.
6. Perforation Blade Clean Tear-Away Lines

The Perforation Blade creates dotted lines rather than full cuts, allowing paper to tear cleanly and evenly. This is perfect for making ticket stubs, booklet pages, coupon designs, and decorative tear-away paper crafts. The result looks very professional and polished. It is only available for the Cricut Maker.
The blade creates consistent, evenly spaced perforations along any path in your design. You can apply it to straight lines, curves, or any shape your design software creates. The spacing between dots is fixed, giving every project a uniform, clean look. It is a very specialized tool but incredibly satisfying to use.
For home decor, try using the Perforation Blade for decorative paper garlands with tear-off tags or seasonal party decorations. Gift wrap embellishments with tear-away corners also look amazing. It is one of those blades that not every crafter needs, but those who discover it find endless uses for it. Once you try it, you will start seeing tear-away opportunities in every project.
7. Wavy Blade Decorative Edges Made Easy

The Wavy Blade cuts in a gentle wave rather than a straight line. It adds an instant decorative edge to paper, cardstock, and light fabric without any extra work. The effect looks like you used fancy decorative scissors, but with far more precision and consistency. This blade is only compatible with the Cricut Maker.
The wave is built right into the blade, so no special design settings are needed. You just load the blade, run your design as normal, and enjoy the beautiful wavy edges. It works on most lightweight materials that the Fine-Point Blade also handles. The results are consistently pretty and very satisfying to see come off the mat.
Home decor crafters use this blade to make scalloped banners, wavy-edge paper flowers, and layered shadow boxes. It adds a whimsical, handcrafted feel to any project. Pair it with bold colors or soft pastels for a decor piece that looks truly custom. This blade brings personality and charm to flat designs with zero extra effort.
8. Scoring Stylus The Original Fold Tool

The Scoring Stylus is one of the original accessories made for Cricut Explore machines. It scores fold lines into paper so you get clean, sharp folds every time. An unscored fold on thick cardstock almost always cracks or looks messy. The Scoring Stylus solves this problem with a simple drag-and-score motion.
It fits into the second tool clamp on the Cricut Explore Air 2 and similar machines. The machine can cut and score in the same session without you having to switch tools manually. This saves a lot of time on complex projects that need both cutting and folding. It is a small tool that makes a very big difference in the finished look.
Use the Scoring Stylus for making greeting cards, paper boxes, envelopes, and 3D paper decor. Clean folds make handmade items look store-bought. If you are making home decor boxes or paper lanterns, this tool is essential. It is one of the first accessories most new Cricut users end up buying.

The Single Scoring Wheel is the upgraded version of the Scoring Stylus. It uses a rolling wheel instead of a dragging tip, which creates a more consistent and precise score line. The result is a sharper, cleaner fold on medium-weight cardstock and paper. It is part of Cricut’s QuickSwap system and works with the Cricut Maker.
The QuickSwap housing means you can swap tips in and out without any tools — just press and click. This makes changing between the Single and Double Scoring Wheel very fast and easy. The wheel glides smoothly across the paper without tearing or dragging. You get a professional score line every single time.
For home decor projects, this is the tool to use for consistent paper folding on gift boxes, card bases, and accordion-fold wall art. It makes 3D paper projects look neat and intentional rather than sloppy. If you make a lot of paper-based decor, upgrading from the Stylus to the Single Scoring Wheel is worth every penny. Your projects will look more polished right away.
10. Double Scoring Wheel For Heavy Cardstock

The Double Scoring Wheel works exactly like the Single Scoring Wheel but creates a wider score line. This wider channel is designed specifically for heavier cardstock and thicker paper materials. When you fold along a double score, the cardstock snaps into a clean crease without cracking. It is a simple upgrade that makes a real difference on heavy projects.
The difference in score line width might seem small, but it matters a lot on thick materials. A narrow score line on thick cardstock can still crack along the fold edge. The double wheel creates a wider groove, giving the cardstock room to fold smoothly. This results in a much cleaner finished edge on your paper crafts.
Use the Double Scoring Wheel for heavy-duty paper boxes, thick greeting cards, and decorative packaging. If you sell handmade home decor items, the quality of your packaging matters as much as the product inside. This tool helps your packaging look as beautiful as your craft. It is a small detail that customers and gift recipients will always notice.
11. Debossing Tip Elegant Texture Without Ink

The Debossing Tip presses into paper or leather to create a sunken, recessed design. The result is a subtle, textured pattern that looks high-end and very elegant. No ink or paint is needed — the texture itself is the design. This tip is part of the QuickSwap system and works with the Cricut Maker.
It is perfect for creating embossed-looking cards, leather accessories, and paper gift wrap. The machine automatically controls pressure, so every debossed line is consistent. You can use any design from Cricut Design Space to create the debossed pattern. Botanical prints, geometric shapes, and script fonts all look stunning when debossed.
For home decor, try debossing kraft paper for custom gift wrapping or debossing thick paper for framed wall art. The texture catches light beautifully, creating a very luxurious look. This tip is especially popular among crafters who make gifts and personalized home decor items. It adds a touch of class to everything it touches.
12. Engraving Tip Personalize Metal and More

The Engraving Tip scratches designs directly into metal, acrylic, leather, and other hard surfaces. This opens up a whole new category of home decor projects. Imagine personalized metal keychains, engraved acrylic ornaments, or custom aluminum bookmarks. This tip makes all of that possible from your home craft room.
It uses the QuickSwap housing and is compatible with the Cricut Maker. The machine automatically controls the engraving depth and pressure. You do need to secure your material very firmly with a StrongGrip mat. Tape the edges of metal sheets down for the most accurate results.
For home decor, engraved acrylic signs and metal tags are hugely popular on Pinterest right now. You can create personalized family name signs, address plates, and decorative labels at a fraction of the retail cost. The engraving looks clean and professional even on your very first try. This tip alone can turn your Cricut hobby into a small business.
13. Foil Transfer Kit Shiny Glamorous Designs

The Foil Transfer Kit lets you apply shiny metallic foil directly onto paper and cardstock designs. It uses a special tip that bonds foil sheets to your material as the machine moves. The result is a glittery, eye-catching finish that looks like it came from a professional print shop. It is one of the most visually striking effects you can create with a Cricut.
The kit includes gold, silver, and rose gold foil sheets, along with the transfer tip. The tip fits into the QuickSwap housing and works with the Cricut Maker. You layer the foil sheet on top of your paper and let the machine do the rest. The foil adheres only at the tip, leaving a perfectly sharp, shiny design.
For home decor, foil transfer is perfect for creating glamorous greeting cards, gold-foil wall prints, and decorative gift tags. Holiday decor made with gold or silver foil looks absolutely stunning. These are the kinds of projects that stop people mid-scroll on Pinterest. If you want your home decor crafts to look luxurious, the Foil Transfer Kit is your secret weapon.
14. Cricut Joy Blade Compact and Mighty

The Cricut Joy has its own dedicated blade designed for its smaller machine body. It is not interchangeable with blades from the Explore or Maker series. This blade cuts materials like smart vinyl, smart iron-on, cardstock, and light paper. It is compact but surprisingly capable for its size.
The Cricut Joy is marketed as a portable and beginner-friendly machine. Its blade reflects that — simple, easy to swap, and low maintenance. You do not need a mat for many materials when using the Cricut Joy, which speeds up the process. The blade works seamlessly with Cricut’s Smart Materials for clean, mat-free cuts.
For quick home decor projects like labels, small vinyl decals, and short paper cuts, the Joy blade is perfect. It is great for personalizing mugs, picture frames, and small decorative boxes. The Joy is not made for large or complex projects, but for everyday small decor tasks; it is a wonderful machine. Its blade may be small, but it punches well above its weight.
15. Cricut Joy Xtra Blade Bigger Cuts for the Joy Family

The Cricut Joy Xtra is a step up from the original Joy, and it comes with its own compatible blade. This blade handles wider cuts than the standard Joy blade, giving you more creative flexibility. It cuts smart materials, cardstock, and vinyl just like the original but on a larger scale. It bridges the gap between the Joy and the Explore series perfectly.
The Joy Xtra is popular among crafters who want more than the Joy offers but do not need the full power of a Maker. Its blade is easy to insert and replace with no tools required. The machine also cuts mat-free with Smart Materials, saving you setup time. It is a very practical machine for regular home decor crafting.
Use this blade for medium-sized vinyl projects, home decor stickers, and iron-on shirt designs. It is also great for cutting cardstock cards in a slightly larger format. If you are upgrading from a Joy to something with a bit more range, the Joy Xtra is a smart choice. Its blade reflects the step up in capability very well.
16. Premium Fine-Point Blade Long-Lasting Sharpness

The Premium Fine-Point Blade is an upgraded version of the standard Fine-Point Blade. It is made with a harder, more durable steel that holds its edge longer. Crafters who cut frequently notice that this blade stays sharp through significantly more projects. It is a small upgrade that delivers a noticeable difference over time.
The blade fits the same housing as the standard Fine-Point and works with all the same machines. You simply swap it in the same way you would replace any blade. Many experienced crafters use this blade as their everyday workhorse because of its reliability. It gives the same clean cuts but for a much longer period before needing replacement.
For home decor crafters who make products regularly or run a small craft business, this blade is worth the slightly higher price. Fewer blade changes mean less downtime and more consistent results across all your projects. Intricate paper cut designs and detailed vinyl decals especially benefit from a consistently sharp blade. Once you switch to the Premium Fine-Point, you may never go back to the standard.
17. Replacement Blade Packs Always Be Ready

Buying blade replacement packs is one of the smartest things a Cricut crafter can do. Running out of a sharp blade mid-project is incredibly frustrating. Replacement packs usually come with three or more blades at a better price per blade than buying individually. Stocking up means you are always ready to craft without any interruptions.
Cricut sells official replacement blades for all its blade types. You can also find compatible third-party replacement blades that work just as well for everyday projects. However, for specialty blades like the Knife Blade or Rotary Blade, it’s recommended to stick with official Cricut replacements. Third-party blades can sometimes be inconsistent in quality for precision cuts.
Organize your replacement blades in a small labeled container in your craft room. Keep them sorted by type so you can grab what you need quickly. Many crafters use small magnetic containers or pill organizers to safely store loose blades. A well-stocked blade collection means you never have to stop a creative session early.
18. How to Know When to Replace Your Blade

A dull blade is the number one cause of bad Cricut cuts. If your cuts are tearing, dragging, or leaving partially uncut pieces, your blade is likely the problem. Most crafters replace their blades every 3 to 6 months, depending on how often they craft. Heavy users who cut daily may need to replace even more frequently.
The easiest test is to cut a simple shape on a piece of cardstock. If the edges are rough or the machine has to work harder than usual, it is time for a new blade. You can also look closely at the blade tip—if it appears bent, chipped, or dull, replace it immediately. A sharp blade always makes clean, effortless cuts.
Some crafters try to extend blade life by cleaning it regularly. Poking the blade in and out of a ball of aluminum foil about ten times removes built-up adhesive and debris. This simple trick can refresh a slightly tired blade and give it extra life. But there comes a point where no amount of cleaning can replace a truly worn-out blade — know when to let go.
19. Blade Housing Colors and What They Mean

Cricut uses different housing colors to help you identify blade types at a glance. The standard Fine-Point Blade comes in a gold housing. The Deep-Point Blade has a black housing. The Bonded Fabric Blade typically comes in a white or light-colored housing. These color codes help prevent you from grabbing the wrong blade in a hurry.
Understanding the housing colors also helps when shopping for replacements. If you need a new Deep-Point Blade, look for the black housing. If you are replacing your everyday blade, reach for the gold one. This system becomes second nature very quickly, making blade management much easier.
Some crafters take this a step further and add colored washi tape labels to their extra blade housings. You can write the blade type directly on the tape for even clearer identification. This is especially helpful if you store multiple blades in the same container. A small organizational habit like this reduces confusion and keeps your craft sessions running smoothly.
20. Blade Compatibility Which Blade Works With Which Machine

Not all Cricut blades work with all Cricut machines, and this is one of the most important things to understand before buying. The Cricut Maker series supports the widest range of blades, including the Knife Blade, Rotary Blade, and all QuickSwap tools. The Cricut Explore series supports Fine-Point, Deep-Point, and Bonded Fabric blades. The Cricut Joy has its own blade, which is not interchangeable with other machines.
Always check the Cricut website or blade packaging before purchasing to confirm compatibility. Buying a blade that does not work with your machine is a waste of money. Cricut Design Space also shows tool compatibility when you are setting up a project. Pay attention to those prompts, and you will never make the wrong purchase.
If you are considering upgrading your machine, blade compatibility is a good reason to consider the Cricut Maker. The wider range of compatible blades means more creative possibilities and more material options. The investment in a Maker pays off quickly when you realize how many more projects become available to you. Think of blade compatibility as part of your long-term crafting plan.
21. Storing Your Blades Safely

Blade storage is something many crafters overlook until they accidentally poke themselves or lose a blade. Cricut blades are very sharp and need to be stored with care. Never toss loose blades into a drawer without a protective cover. The blade tips can dull if they knock against hard objects, and they can cause injury if you reach in without looking.
Cricut sells a dedicated blade storage case that holds multiple blades neatly. There are also many clever DIY storage solutions shared by crafters on Pinterest. Small magnetic strips, foam-lined tins, and repurposed pill organizers all work well. The key is keeping blades separated, covered, and clearly labeled.
Properly storing your blades also significantly extends their life. A blade tip that stays protected between uses will last much longer than one that bounces around in a drawer. Take a few minutes to set up a proper storage system when you first get your machine. It is a small investment of time that pays off every single craft session.
22. Third-Party Blades Are They Worth It?
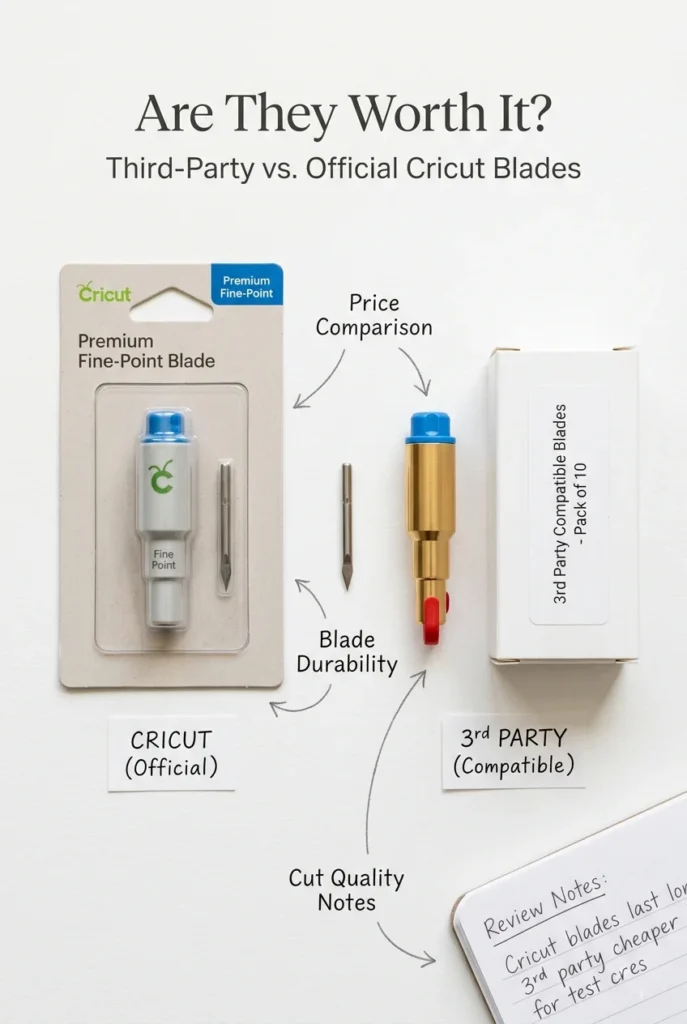
Third-party Cricut-compatible blades are widely available online and often cost significantly less than official Cricut blades. Many crafters use them without any problems, especially for everyday cutting tasks on paper and vinyl. For basic projects, the quality difference is often hard to notice. They can be a smart way to save money if you craft frequently.
However, there are risks with third-party blades. Quality can be inconsistent from brand to brand and even batch to batch. Some lower-quality blades dull faster, cut unevenly, or damage your machine’s blade housing over time. For specialty cuts on expensive materials like leather or wood, the risk is not worth it.
The safest approach is to use official Cricut blades for important or expensive projects and save the third-party blades for practice cuts and everyday paper projects. Read reviews carefully before buying any third-party blade. Look for brands with consistent positive feedback from Cricut users specifically. A few dollars saved on a bad blade is not worth ruining a project you spent hours on.
23. Using the Right Mat With the Right Blade

Blade performance is closely connected to the mat you use. Cricut has four main mat types — LightGrip, StandardGrip, StrongGrip, and FabricGrip. Each one is designed to hold specific materials during cutting. Using the wrong mat can cause your material to shift and ruin the cut even if your blade is perfect.
The LightGrip mat works with light paper and vellum. The StandardGrip mat is for cardstock and vinyl — it is the most commonly used mat. The StrongGrip mat is essential for thick materials like chipboard and wood when using the Knife Blade. The FabricGrip mat is made for the Rotary Blade and fabric projects.
Keeping your mats clean and sticky also affects blade performance. A dirty or dried-out mat does not hold materials properly, causing movement during cutting and ruined projects. Clean your mats gently with a baby wipe after each use and store them with the clear protective film to keep them sticky longer. A well-maintained mat is just as important as a sharp blade.
24. Blade Pressure Settings in Cricut Design Space

Cricut Design Space automatically sets the blade pressure based on the material you select. When you choose cardstock, vinyl, or fabric in the software, the machine adjusts its cutting force accordingly. This is one of the reasons why selecting the correct material setting is so important. The wrong setting means too much or too little pressure on your blade.
You can also manually adjust the pressure in Design Space if the automatic setting isn’t quite right. A “More” pressure setting is useful for slightly thicker materials that are not cutting through completely. A setting of “Less” is good for very delicate or thin materials that might tear under normal pressure. These adjustments let you fine-tune your cuts beyond the default settings.
Getting to know the pressure settings for your most-used materials will make you a much more efficient crafter. Keep a small notebook or phone note with your preferred settings for each material. This way, you do not have to experiment every time you start a new project. Over time, these settings become second nature, and your projects turn out right on the first cut.
25. Multi-Cut Settings When One Pass Is Not Enough

Some materials require the machine to cut along the same line multiple times to achieve a complete cut. This is called the multi-cut setting, and it is available in Cricut Design Space. Materials like thick foam, balsa wood, and heavy chipboard almost always need multiple passes. Setting this up correctly prevents you from lifting the mat too early and ruining the cut.
To enable multi-cut, go into the cut settings for your material in Design Space and increase the number of passes. You can usually choose between one and three additional passes. The machine will automatically repeat the cut path the selected number of times. You do not need to do anything manually during the process.
The Knife Blade is the most common blade used with multi-cut settings. It is programmed by default to make multiple passes on thick materials. For other blades, you may need to enable multi-cut manually when working with unusually thick material. Always do a test cut on a small scrap of your material before committing to a full project with multi-cut settings.
26. Cleaning Your Blade for Better Performance

Keeping your blade clean is one of the easiest ways to extend its life and maintain cut quality. Adhesive residue from vinyl and iron-on materials builds up on the blade tip over time. This buildup causes the blade to drag rather than glide, resulting in rough or incomplete cuts. Regular cleaning prevents this problem entirely.
The most popular cleaning method is the aluminum foil ball trick. Crumple a piece of aluminum foil into a tight ball and poke your blade in and out of it about ten to fifteen times. The foil strips away adhesive and small debris from the blade tip without damaging the edge. It is quick, free, and surprisingly effective.
You can also use a small soft brush or a dry toothbrush to gently clean around the blade housing. Dust and paper fibers can accumulate in the housing, affecting the blade’s free spin during cutting. A quick clean after every few projects keeps everything running smoothly. Make blade cleaning part of your regular craft room maintenance routine, and your blades will always perform at their best.
27. Cricut Blades for Leather Projects

Leather cutting with Cricut is more popular than ever, especially for home decor and accessories. Thin and medium leather work well with the Deep-Point Blade on a Cricut Explore or Maker. Thick leather requires the Knife Blade on a Cricut Maker. Knowing the difference saves you from frustrating results and wasted material.
Faux leather is slightly easier to cut than genuine leather and often works with the Deep-Point Blade at a higher pressure setting. Always do a test cut before committing to a large piece of leather. Leather is expensive, and a ruined sheet caused by the wrong blade or pressure setting is a costly mistake. A test cut on a scrap piece tells you everything you need to know before the main cut.
Leather home decor is a growing trend on Pinterest and in home styling. Leather coasters, wall hangings, plant holders, and keychains all look beautiful and luxurious. Using your Cricut to create these items at home is both satisfying and cost-effective. With the right blade and settings, leather cuts cleanly and looks very professional.
28. Cricut Blades for Paper and Cardstock Home Decor
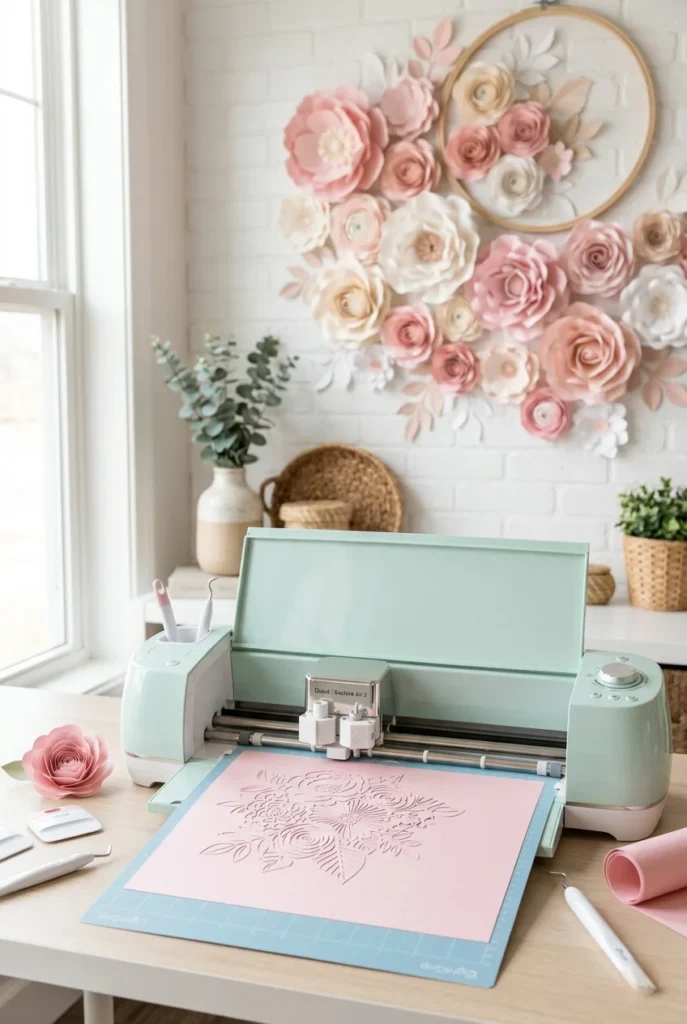
Paper and cardstock are the most popular materials for Cricut home decor projects. The Fine-Point Blade handles most paper projects with ease. For thicker cardstock weighing 80 lb or more, the Deep-Point Blade delivers cleaner results. Knowing which blade to use for which paper weight is a skill every crafter should develop.
Paper home decor is everywhere on Pinterest — 3D paper flowers, paper lanterns, shadow boxes, and wall art. These projects are affordable, beginner-friendly, and look absolutely stunning. The key to beautiful paper crafts is a sharp blade and the correct pressure setting in Design Space. With those two things dialed in, your paper cuts will be flawless.
Seasonal home decor made from paper is especially popular. Think paper pumpkins for fall, snowflake garlands for winter, and paper florals for spring. Each season gives you a reason to create something new and refresh your home’s look. Cricut blades make it fast and easy to cut intricate paper designs that would take hours by hand.
29. Building Your Blade Collection Over Time

You do not need every Cricut blade on day one. The best approach is to start with the basics and add specialty blades as your projects grow. Begin with the Fine-Point Blade that comes with your machine. Then add the Deep-Point Blade and a Scoring Wheel as your second step. From there, let your project ideas guide which blades you add next.
If you find yourself wanting to cut fabric, invest in the Rotary Blade and Bonded Fabric Blade. If wood signs and thick leather are calling your name, the Knife Blade is your next purchase. Specialty tools like the Engraving Tip, Debossing Tip, and Foil Transfer Kit are wonderful additions once you have the basics covered. Building your collection gradually means you always have a purpose for each blade you buy.
Having the right blade for every project is what turns a good craft into a great one. A well-stocked blade collection opens up an enormous range of creative possibilities. Think of your blades as an investment in your creative future. Every new blade you add is a new category of projects you can bring to life.