10 Steps to Clean a Blackstone Griddle the Right Way
A dirty griddle can ruin your next cookout before it even starts. Sticky grease, burnt bits, and rust spots make cooking harder, and food tastes off. Learning how to clean a Blackstone griddle the right way fixes all of that in just a few simple steps.
Most people think cleaning a griddle means scrubbing hard with soap and water. That approach actually strips the seasoning and invites rust. The right method uses heat, water, and a little oil instead.
This guide walks you through ten easy steps anyone can follow. By the end, your griddle will look shiny, cook better, and last for years of backyard meals.
1. Let the Griddle Cool Down First
Cleaning a hot griddle sounds efficient, but it is actually risky and unhelpful. The metal needs to cool to a warm, safe-to-touch temperature before you start. This protects your hands and keeps the surface from warping under sudden temperature changes.
A griddle that is too hot can also cause water to splash and steam unexpectedly. Waiting just ten to fifteen minutes after cooking gives you a much safer workspace. This small pause makes the entire cleaning process smoother and less stressful.
Patience here also improves your results. A slightly warm surface still loosens grease well, but it will not scorch your cleaning tools. Think of this step as the calm start to a simple home routine.
2. Scrape Off Food Residue and Grease
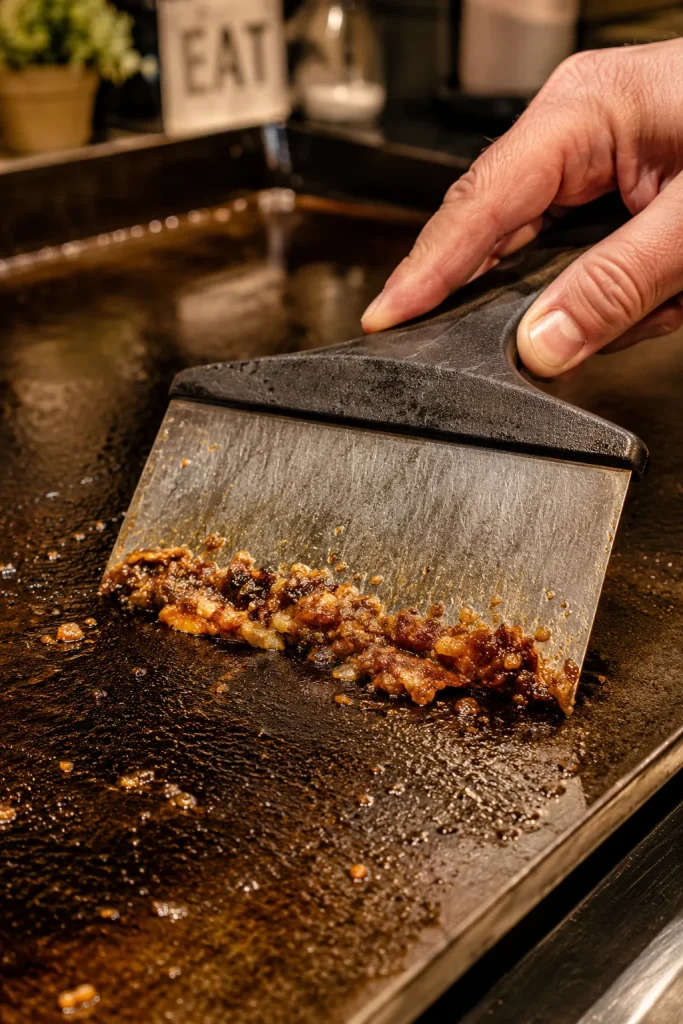
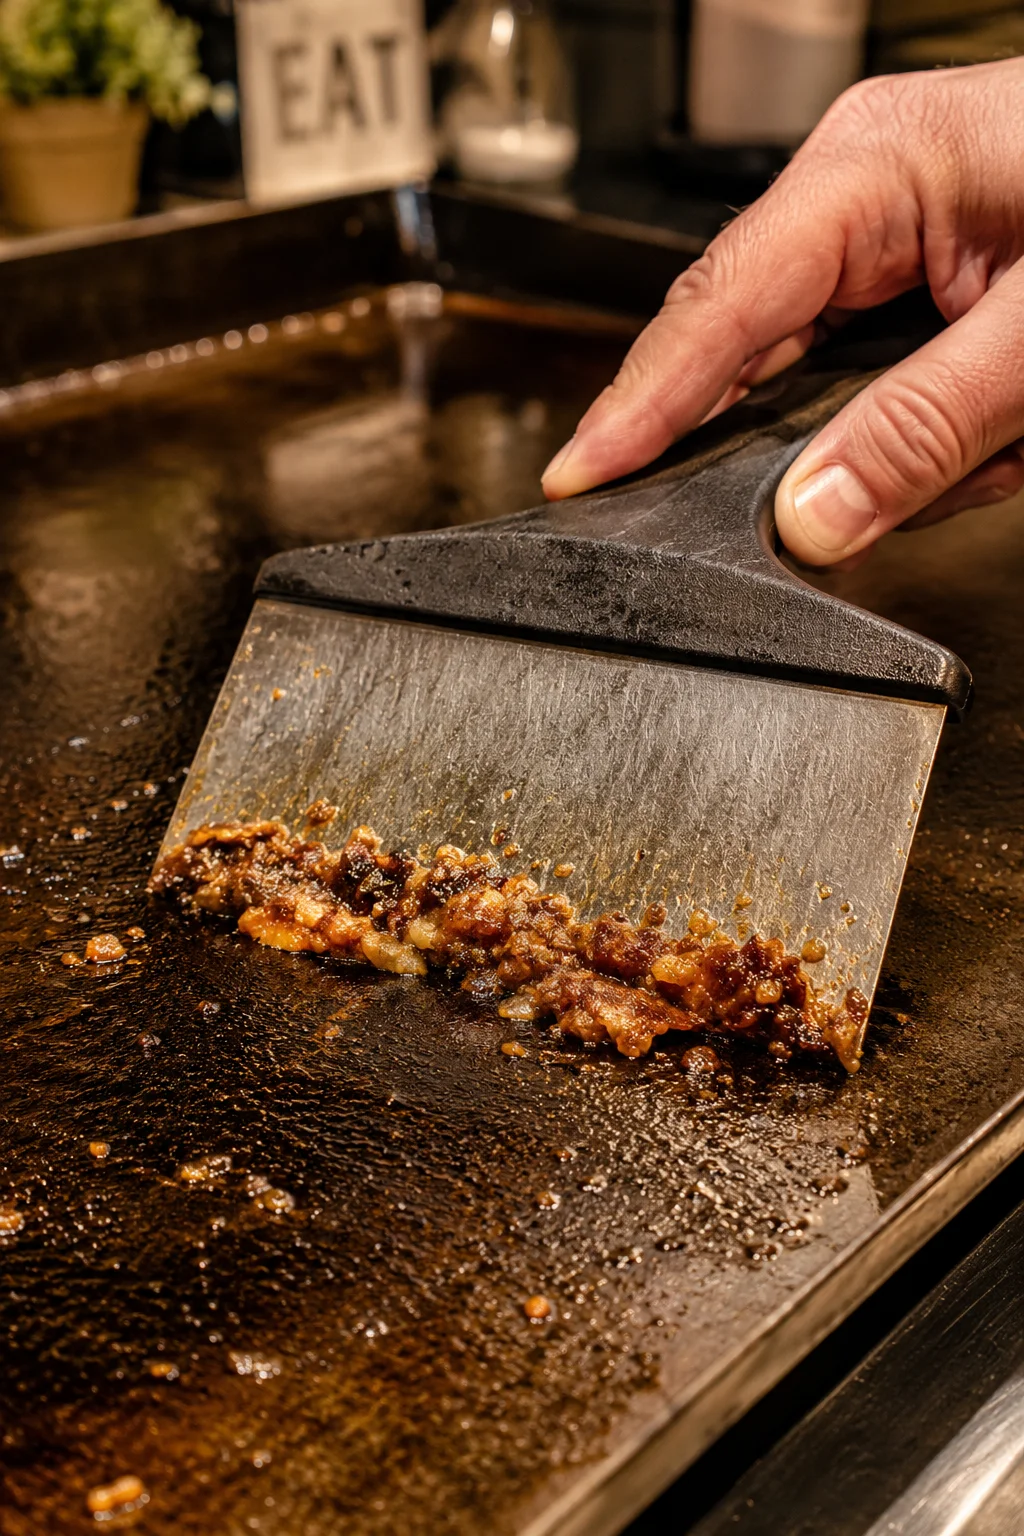
Once the griddle is warm, grab a metal griddle scraper or spatula. Push firmly across the surface to lift stuck bits of food and grease. This step removes the bulk of the mess before any liquid touches the metal.
Work in one direction to guide the debris toward the front grease drawer. This keeps your workspace tidy and stops crumbs from scattering everywhere. It also mirrors how professional cooks keep flat tops clean between orders.
Do not skip corners or edges, since grease often hides there. A thorough scrape now means less scrubbing later. This one simple habit saves real time during the rest of your cleaning routine.
3. Add Water While the Surface Is Warm

Pour a small amount of water directly onto the warm griddle surface. The heat causes light steam, which naturally loosens any leftover grease and bits. This trick works because warm water breaks down oils faster than cold water ever could.
Avoid using soap at this stage. Soap can strip the seasoned layer that protects your griddle from rust. Plain water keeps that seasoning intact while still doing the cleaning work you need.
You will notice the water turning cloudy or slightly dark almost immediately. That is completely normal and means the loosened grease is lifting off. This step sets up the scrubbing stage that follows next.
4. Scrub With a Grill Stone or Pumice Brick
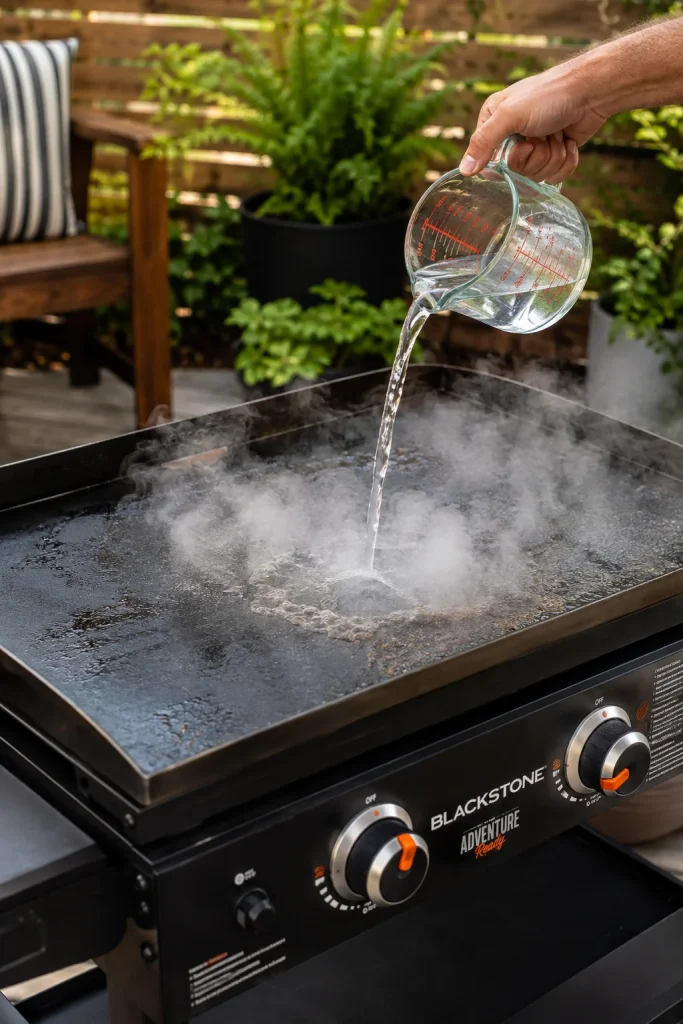
With the water still on the surface, use a grill stone or pumice brick to scrub gently. Move in circular motions across stubborn spots and stuck-on residue. These tools are gentle enough for the metal but strong enough to lift grime.
Avoid steel wool or harsh metal brushes, since they can scratch the seasoning layer. A grill stone gives you cleaning power without damaging the surface underneath. This balance is exactly what keeps a griddle performing well over time.
Take your time on darker, crusted areas near the centre of the cooktop. These spots usually need a little extra attention from repeated cooking sessions. A few extra passes here make a noticeable difference in the final result.
5. Wipe Away the Water and Debris

After scrubbing, use a paper towel or clean cloth to wipe the surface. Push the leftover water and grease toward the grease trap in front. This clears away the loosened grime so you can actually see the metal underneath.
You may need several paper towels depending on how much buildup was present. That is completely normal, especially after a big cookout with lots of food. Keep wiping until the water runs mostly clear across the surface.
This step reveals how clean your griddle really is at this point. Any remaining spots will stand out clearly against the shinier areas. Use this moment to decide if another light scrub is needed before moving forward.
6. Dry the Griddle Completely
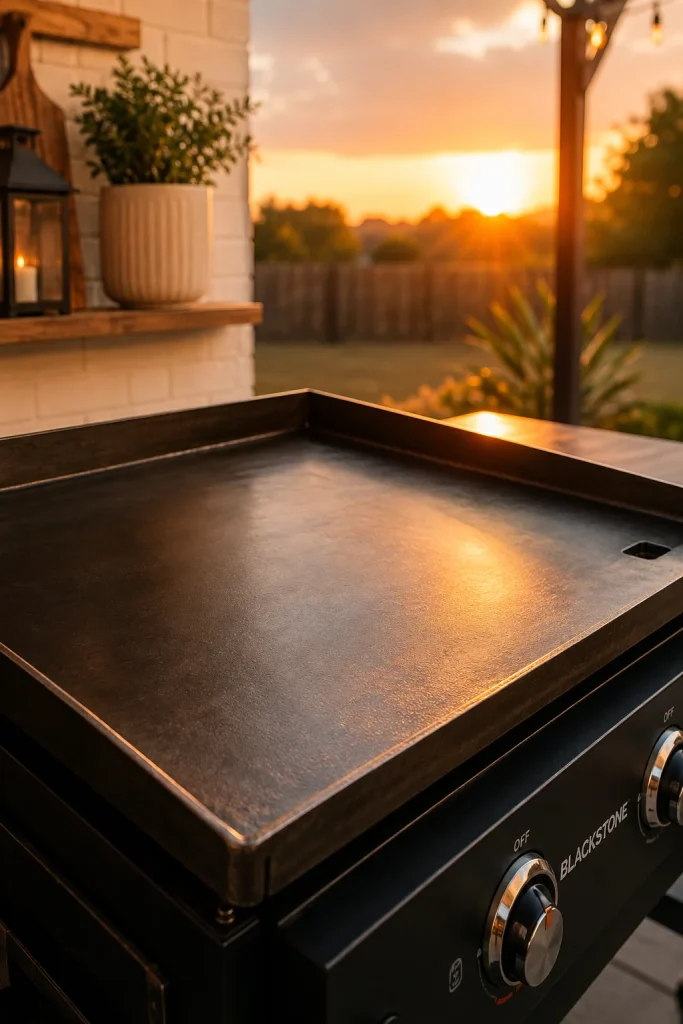
Moisture left on the surface is the fastest path to rust. After wiping, take a few extra minutes to dry the griddle thoroughly with a clean towel. Pay close attention to edges and corners where water tends to collect.
If you have access to low heat, turning the burners on briefly also helps. The gentle warmth evaporates any hidden moisture you might have missed. This extra step is especially useful in humid climates or during rainy seasons.
A fully dry surface is the foundation for the next stage of care. Skipping this step, even by accident, can undo all your earlier cleaning work. Taking the time now protects the griddle for many more meals ahead.
7. Apply a Thin Layer of Seasoning Oil
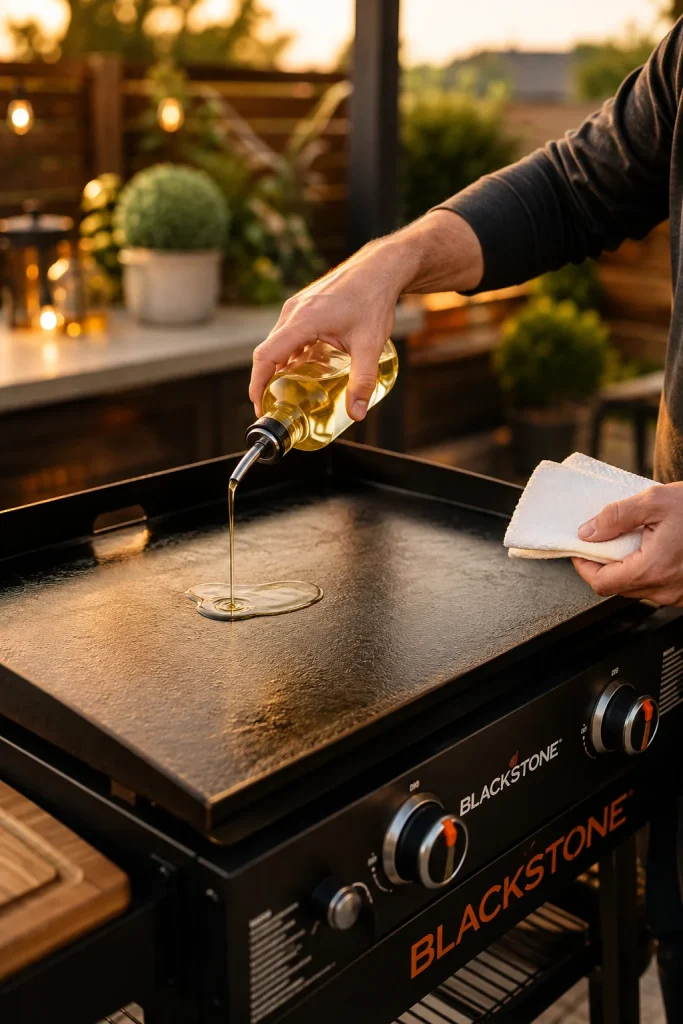
Once the griddle is completely dry, add a small amount of high smoke-point oil. Options like flaxseed, canola, or vegetable oil work well for this purpose. Pour just enough to lightly coat the surface without pooling anywhere.
Use a paper towel or cloth to spread the oil evenly across the metal. Reach every corner, including the edges near the grease drawer. An even coat is more important than a thick one for good seasoning results.
This oil layer is what gives Blackstone griddles their signature nonstick finish. It also acts as a protective barrier against moisture and air. Think of this step as feeding the metal so it stays strong and rust-free.
8. Heat the Griddle to Set the Seasoning
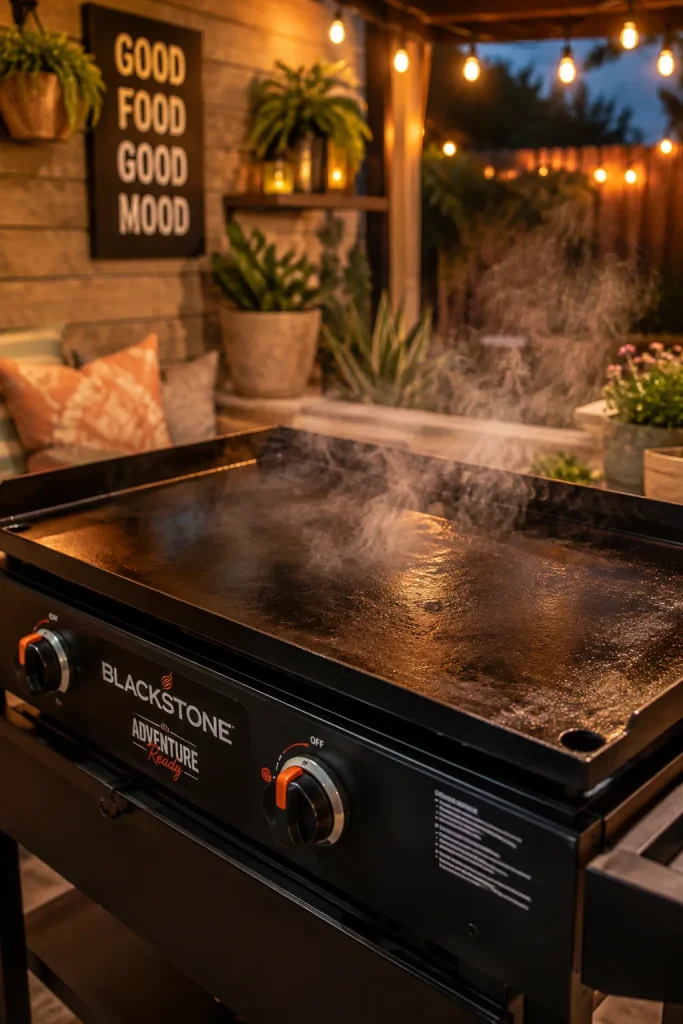
Turn the burners on to medium-high heat once the oil is spread evenly. Let the griddle heat until the oil begins to smoke lightly across the surface. This process bonds the oil to the metal, creating a durable protective layer.
You will notice the surface slightly darkening as it heats. This colour change is a good sign that the seasoning is setting properly. Let it continue for several minutes until the smoking slows down naturally.
Turn off the heat and allow the griddle to cool gradually afterwards. Rushing this cooling process can undo the bond you just created. Patience during this stage leads to a stronger, longer-lasting seasoned surface.
9. Clean the Grease Trap and Drip Tray

The grease trap collects everything scraped off during cooking and cleaning. Slide it out and empty any collected grease into the trash, never down a drain. A full trap can overflow and create a messy, sticky situation quickly.
Wash the tray with warm, soapy water since it does not need seasoning like the cooktop. Rinse thoroughly and dry it before sliding it back into place. This small habit helps prevent unpleasant odours and unwanted pests around your outdoor space.
Making this part of your routine keeps the whole cooking area feeling fresh. A clean drip tray also reflects the same care you put into decorating your outdoor kitchen. It is a small detail that makes a noticeable difference overall.
10. Store Your Blackstone Griddle Properly

Once the griddle has fully cooled, cover it with a fitted griddle cover. This protects the seasoned surface from rain, dust, and outdoor debris. A good cover is a simple investment that significantly extends the life of your griddle.
If possible, store the griddle in a covered patio area or garage during harsh weather. Extreme temperature swings can affect the metal and seasoning over time. Choosing a sheltered spot keeps your outdoor cooking station looking neat and ready.
Proper storage ties your entire cleaning routine together. All the scraping, scrubbing, and seasoning work stays protected until your next cookout. This final step is what keeps your griddle performing well season after season.
Conclusion
Keeping a griddle clean does not have to feel like a chore once you know the right steps. From cooling and scraping to seasoning and covering, each stage plays a simple but important role. Following these ten steps regularly will keep your Blackstone griddle rust-free, nonstick, and ready for every backyard gathering, season after season.