
12 Ways to Clean Brass Hardware and Restore Its Shine
Dull, spotted, and tarnished handles can make even a freshly painted room look tired and old. If you have ever pulled open a drawer and noticed dark, blotchy hardware staring back at you, you already know the problem. The good news is you can clean brass hardware using items you probably already have in your kitchen.
This guide walks you through twelve easy ways to bring back that warm, golden glow. No harsh chemicals or expensive tools are needed for most of these methods. You need a little patience and the right steps.
Whether your hardware is on cabinets, doors, or furniture, these tips work the same way. By the end of this post, you will know exactly how to make tarnished brass look brand new again.
1. Identify Real Brass vs Brass-Plated Hardware

Before you start cleaning, you need to know what kind of brass you are dealing with. Solid brass is not magnetic, whereas brass-plated hardware often has a steel or iron core beneath a thin brass coating. A simple magnet test can save you from ruining a piece with the wrong cleaning method.
Just hold a small magnet close to the surface of your hardware. If it sticks, you likely have plated brass, which needs gentler care. If it does not stick, you probably have solid brass, which can handle slightly stronger cleaning solutions.
This step matters because plated brass can wear thin if you scrub too hard or use acidic mixtures. Knowing what you are working with helps you choose the safest method from this list. It also protects your hardware from scratches or discolouration down the road.
2. Gather the Right Cleaning Supplies
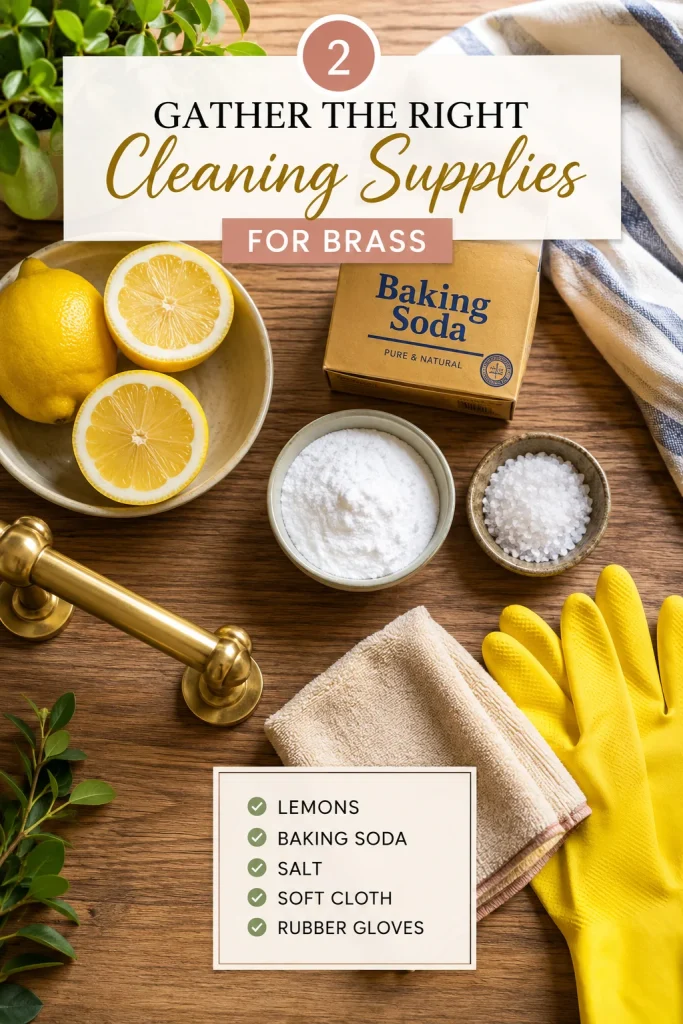
Most brass cleaning projects only need a handful of household items. Think dish soap, white vinegar, baking soda, salt, and a couple of soft cloths. You likely already own most of these, which makes this a budget-friendly home project.
Avoid using rough scrubbing pads or steel wool on brass hardware. These can leave permanent scratches that are hard to fix later. Instead, stick to soft microfiber cloths or an old toothbrush for detailed areas like grooves and corners.
Having everything ready before you begin also makes the process smoother. There is nothing worse than starting a task halfway through and realising you are missing an ingredient. Set up a small cleaning station near a sink so rinsing and drying is quick and easy.
3. Remove Dust and Loose Grime First

Before diving into any deep cleaning method, always start by removing surface dust and grime. A dry, soft cloth works well for this first pass. This step keeps you from rubbing dirt into the metal, which can cause tiny scratches.
For hardware with detailed patterns, use a soft-bristled brush to reach into grooves and corners. An old, clean toothbrush works great for this job. Take your time here since built-up grime can hide underneath, making tarnish look worse than it actually is.
Skipping this step often leads to more scrubbing later on. A quick five-minute dusting session can save you a lot of effort during the deeper cleaning stages. Think of it as prepping your canvas before painting a picture.
4. Clean Brass Hardware with Dish Soap and Warm Water

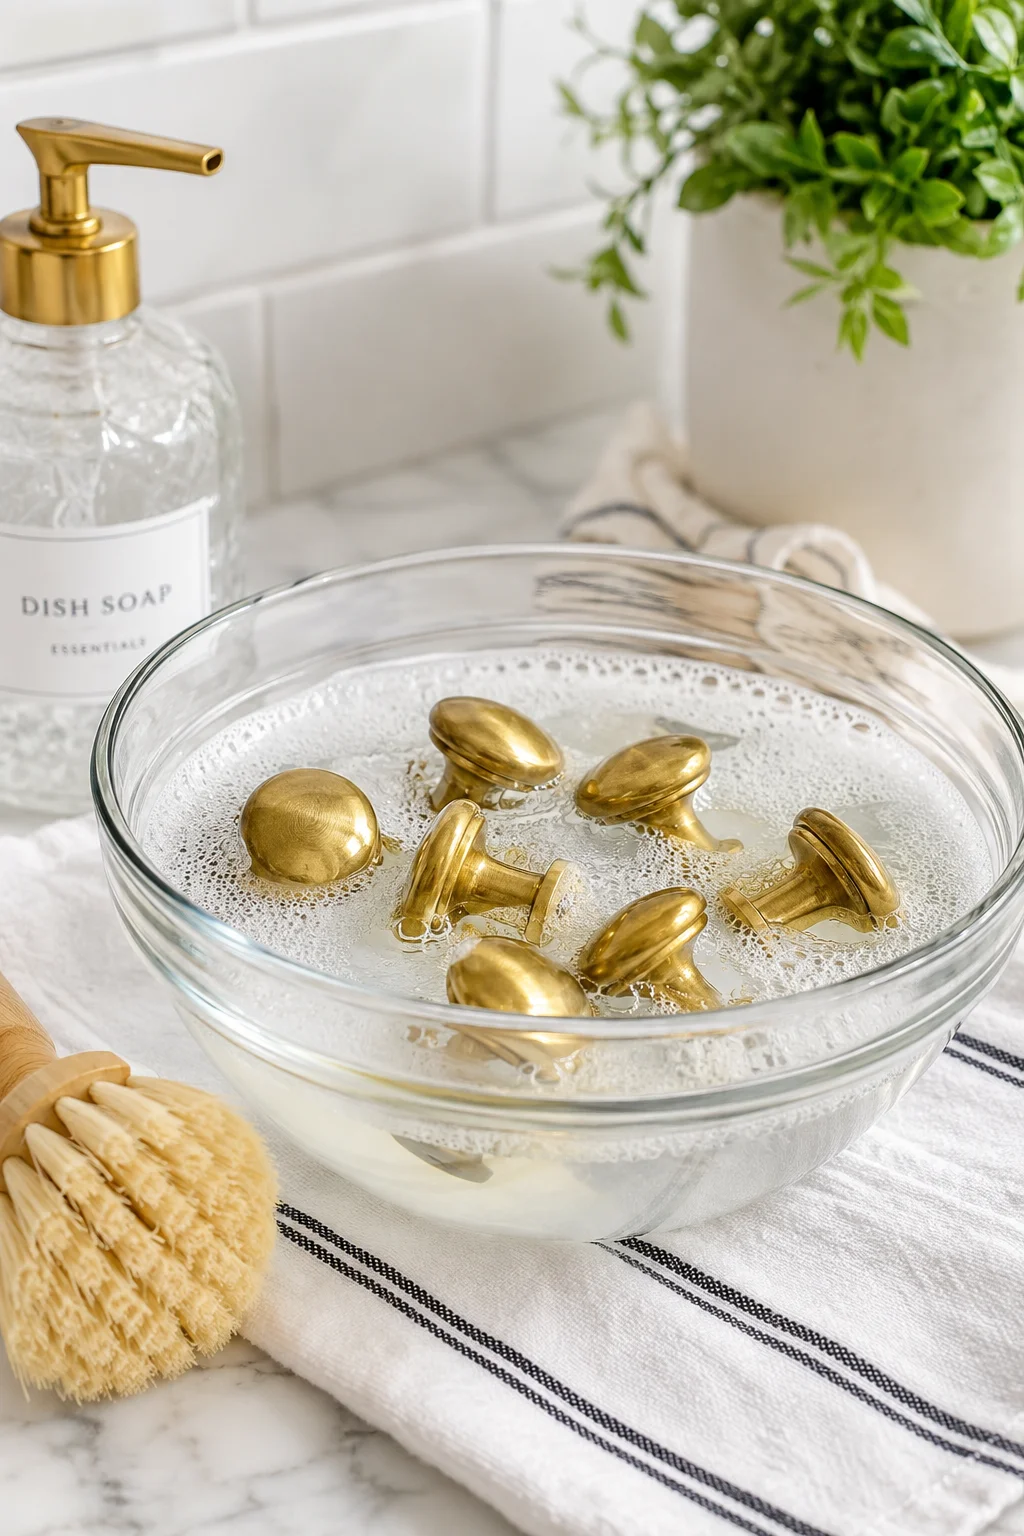
For light tarnish and everyday grime, dish soap and warm water often do the trick. Mix a few drops of mild dish soap into a bowl of warm water and stir until it becomes slightly sudsy. Dip a soft cloth into the mixture and gently wipe down each piece of hardware.
If the hardware is removable, you can soak it directly in the bowl for about ten minutes. This loosens dirt and makes wiping much easier afterwards. Rinse everything with clean water once you are done to avoid soap residue.
This method is gentle enough for both solid and plated brass. It will not remove heavy tarnish, but it works wonders for regular upkeep. Many home decor lovers use this simple trick every few weeks to keep hardware looking fresh.
5. Use Vinegar and Salt for Tarnished Brass

When soap and water are not enough, vinegar and salt make a strong natural cleaner for brass. Mix one cup of white vinegar with a tablespoon of salt until the salt mostly dissolves. Dip a soft cloth into this mixture and rub it gently onto the tarnished areas.
You should start to see the dark spots lift within a few minutes of rubbing. For extra stubborn tarnish, let the solution sit on the surface for a minute or two before wiping it off. Always rinse the hardware with warm water afterwards and dry it completely.
This method works best on solid brass rather than plated pieces, since vinegar is acidic and can wear down thin coatings. It is a favourite among home decor bloggers because the ingredients are cheap and already in most kitchens. Just remember to test a small hidden spot first if you are unsure of your hardware type.
6. Try the Lemon and Baking Soda Method
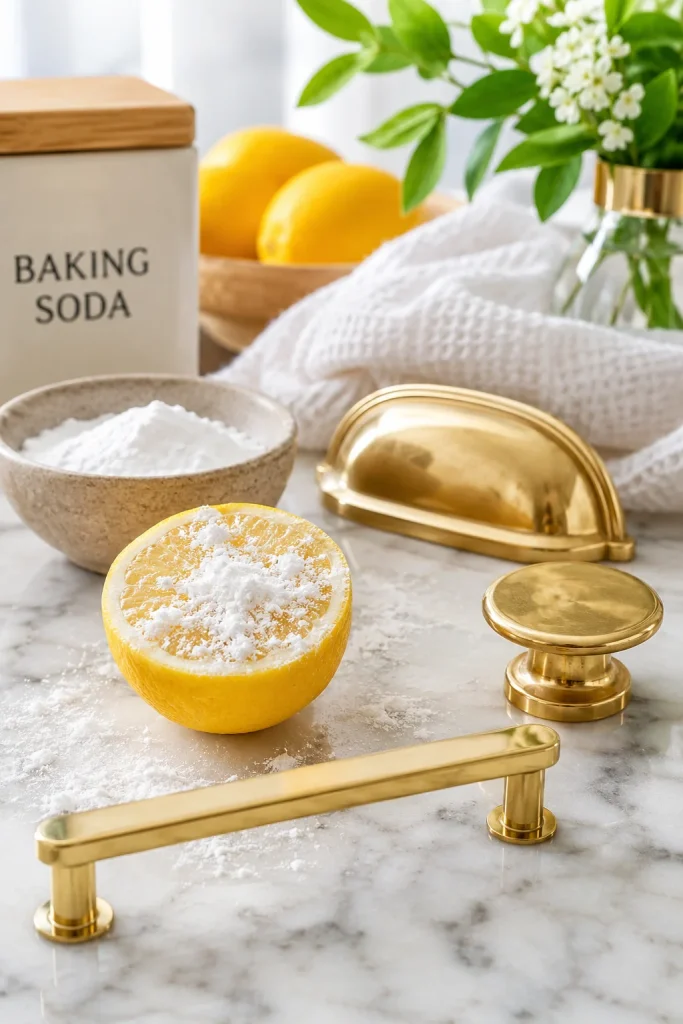
Lemon and baking soda create a gentle paste that works surprisingly well on brass tarnish. Cut a lemon in half and sprinkle baking soda directly onto the cut surface. Use the lemon like a scrubbing tool, rubbing it in small circles over the hardware.
The natural citric acid in lemon, combined with the mild abrasiveness of baking soda, helps lift tarnish without harsh chemicals. You will notice the paste turning slightly dark as it pulls grime from the surface. Rinse the hardware thoroughly once you finish scrubbing.
This method smells fresh and feels satisfying to use, which is part of why it is so popular among home decor fans. It is also safe for kids and pets because there are no strong chemical odours. Dry the hardware right away to prevent water spots from forming.
7. Use Ketchup to Remove Heavy Tarnish
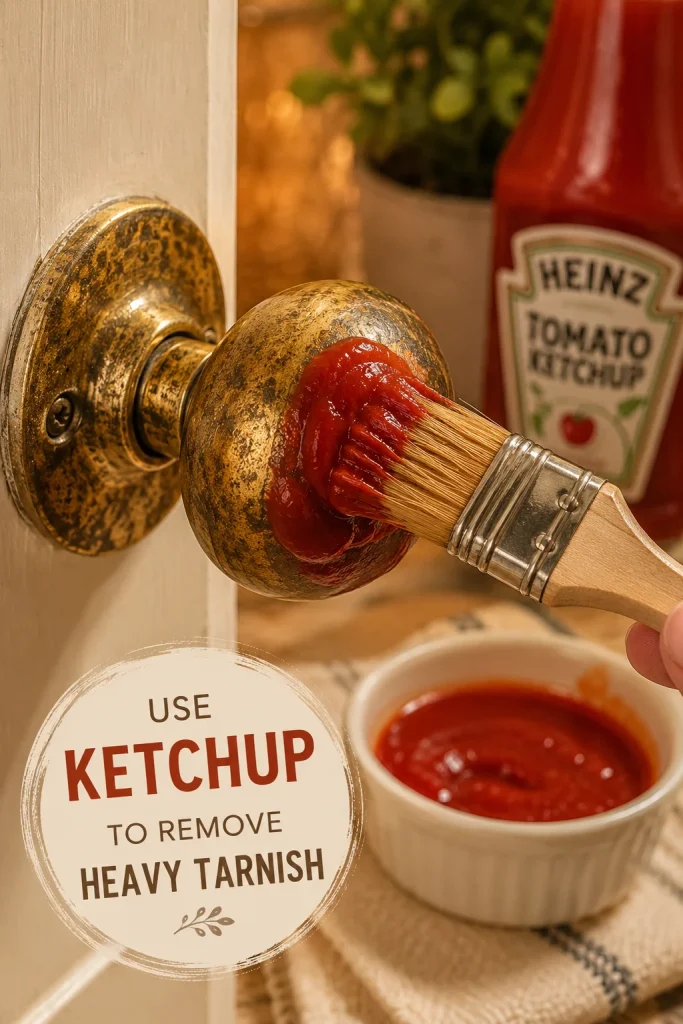
It sounds unusual, but ketchup is a genuinely effective brass cleaner. The acidity from the tomatoes and vinegar in ketchup helps break down heavy tarnish and grime. Spread a thin layer over the hardware using an old brush or your fingers.
Let the ketchup sit for about fifteen to twenty minutes before wiping it away. For hardware with deep tarnish, you can gently scrub with a soft toothbrush while the ketchup is still on. Rinse well afterwards, since leftover ketchup can leave a sticky residue if not cleaned properly.
Home decor enthusiasts have shared this trick for years, and it continues to surprise people with how well it works. It is especially handy when you do not have vinegar or lemons on hand. Just make sure to dry the hardware completely once rinsed.
8. Polish with Toothpaste for Light Shine

Plain white toothpaste, not the gel kind, can add a nice light shine to slightly dull brass. Squeeze a small amount onto a soft cloth or an old toothbrush. Gently rub it over the surface in small, circular motions.
Toothpaste contains mild abrasives that help polish metal without being too harsh. This method works best for maintaining shine rather than removing heavy tarnish. It is a quick fix that makes your hardware look better in just a few minutes.
Rinse the toothpaste off completely with a damp cloth once you are finished. Buff the hardware dry with a clean, soft towel for the best results. This is a great trick to keep in your back pocket for quick touch-ups before guests arrive.
9. Use a Commercial Brass Polish for Deep Cleaning
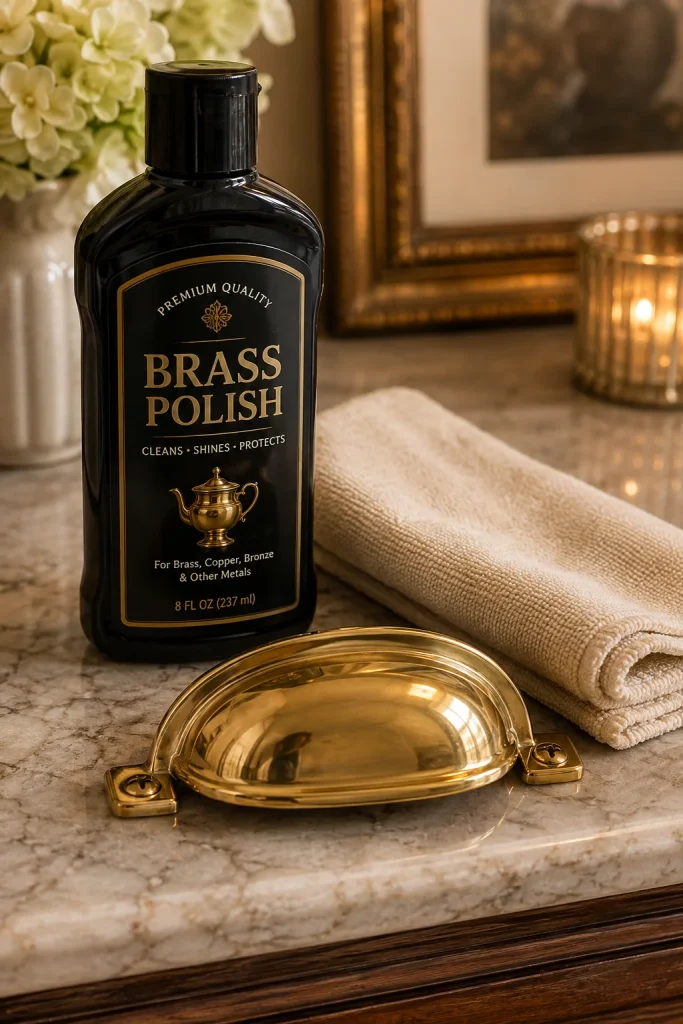
For hardware with very heavy, stubborn tarnish, a store-bought brass polish might be your best option. These products are formulated specifically to cut through years of buildup quickly. Apply a small amount to a soft cloth and rub in gentle, even strokes.
Always read the instructions on the product label before starting, since some polishes require gloves or ventilation. Work in a well-lit area so you can see the tarnish lifting as you go. This method tends to work faster than natural remedies, which is helpful for large hardware collections.
Once finished, wipe away any polish residue with a clean, damp cloth. Commercial polish is a solid choice when natural methods have not fully done the job. It is worth keeping a small bottle in your cleaning cabinet for future brass projects.
10. Buff Brass Hardware to a Mirror Shine

Buffing is the final step that truly brings out the shine in brass hardware. After cleaning and rinsing, use a dry, soft cloth to rub the surface in small circular motions. This step removes any leftover moisture and smooths out the metal’s finish.
Take your time here since rushing can leave streaks or uneven shine. Focus extra attention on curved edges and detailed patterns where light naturally catches. You will notice the warm golden tone becoming much more vibrant as you buff.
This step is often skipped, but it makes a huge visual difference. Many home decor lovers say buffing is what separates an okay cleaning job from a truly stunning one. A few extra minutes of buffing can make your hardware look almost brand new.
11. Protect Brass Hardware After Cleaning

Once your brass hardware is clean and shiny, protecting it helps the results last longer. A thin layer of clear wax or a specialised brass lacquer creates a barrier against air and moisture. This significantly slows the tarnishing process.
Apply the wax with a soft cloth in a thin, even coat. Let it dry according to the product instructions before touching the hardware again. This extra step is optional but highly recommended if you do not want to clean the same hardware every month.
Protecting your hardware is especially helpful in humid climates or kitchens where grease and moisture build up quickly. Think of it as sealing in all the hard work you just did. A little protection now saves a lot of scrubbing later.
12. Maintain Brass Hardware’s Shine Long-Term

Keeping brass hardware looking great does not require constant deep cleaning. A quick wipe with a soft, dry cloth once a week can prevent dust and oils from building up. This small habit keeps tarnish from forming as quickly.
Avoid touching brass hardware with wet or greasy hands whenever possible, especially in kitchens. Oils from your skin can speed up tarnishing over time. If you notice light dullness starting to appear, a quick pass with dish soap and water usually fixes it before it becomes a bigger job.
Consistent, light maintenance is much easier than tackling heavy tarnish every few months. Set a simple reminder to check your hardware seasonally so it stays part of your regular home decor routine. With just a little care, your brass fixtures can stay beautiful for years to come.
Conclusion
Restoring brass hardware does not have to feel like a huge chore. With these twelve simple methods, you can restore that warm, glowing shine using items already in your kitchen. Whether you choose a quick soap-and-water wipe or a deeper vinegar soak, consistent care will keep your hardware looking beautiful for years. Try one of these methods today and enjoy the fresh, updated look it brings to your home decor.